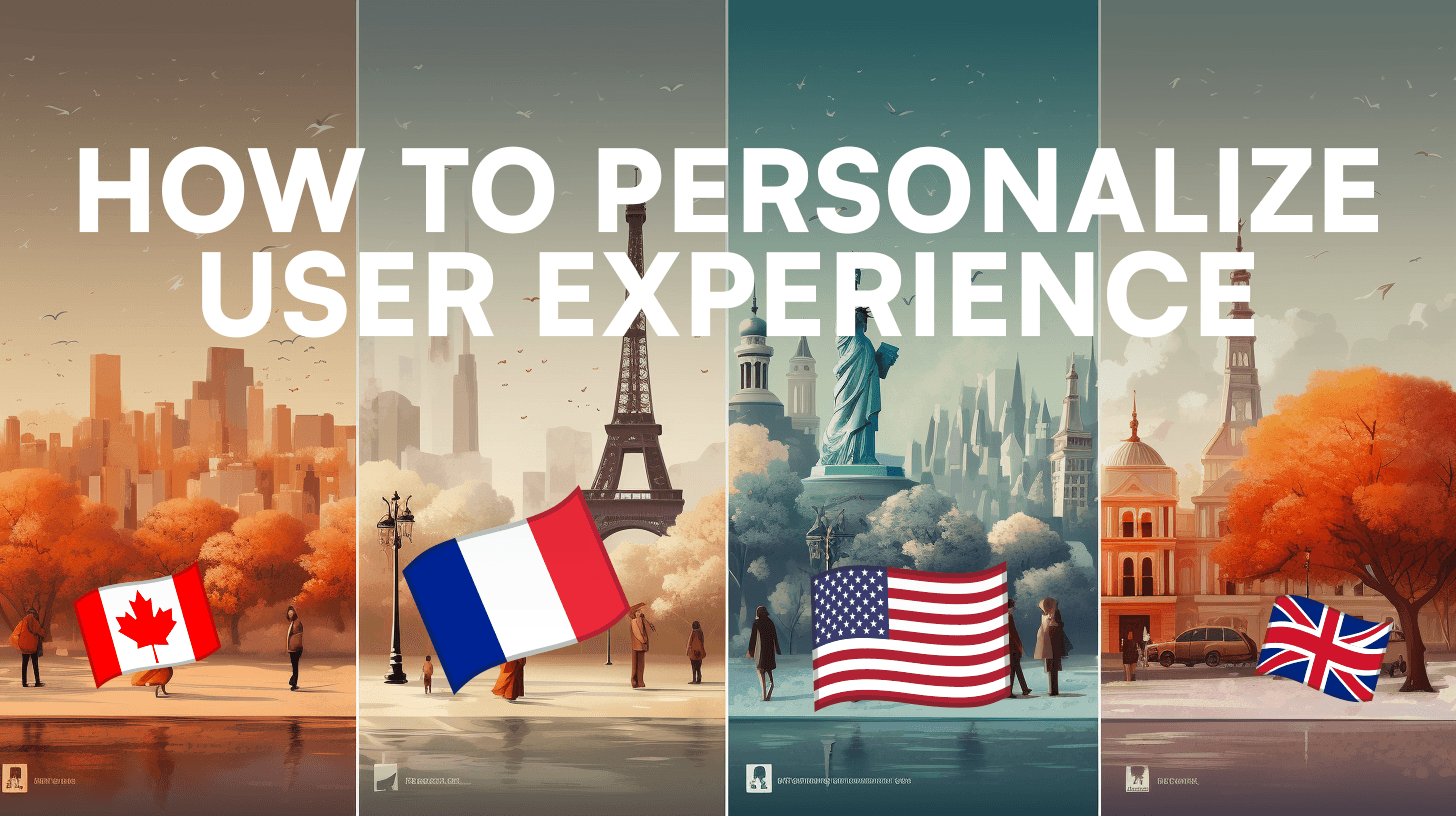
Personalization in UX is a good idea to go to the next level in the customer experience. Learn how to use user data, machine learning and best practices to create a personalized user experience. For more tech reviews and tools, check out my NSFW AI chatbots guide or browse all tech articles.
Tutorial: Next.js Geolocation in Edge Middleware with Vercel
This guide provides a straightforward approach to integrating geolocation-based personalization into your Next.js and Vercel application. Let's dive into some practical examples to illustrate the process.
Next.js Geolocation for local SEO
Here is an Next.js 13 App Router example how to use the headers from Vercel and geolocate the user by country and city. This is useful for local SEO and personalization.
This is how the above titles and content are made!
import { ArticleLayout } from '@/components/ArticleLayout'
import { generatePageMeta } from '@/core/seo'
import { headers } from 'next/headers'

// Show the city, the ISO country code or a fallback
const getCity = () => {
  const headersList = headers()
  return (
    headersList.get('cf-ipcity') ??
    headersList.get('cf-ipcountry') ??
    headersList.get('x-vercel-ip-city') ??
    headersList.get('x-vercel-ip-country') ??
    'your city'
  )
}

export function generateMetadata() {
  return {
    title: 'Personalization: How to engage customers in ' + getCity(),
    description: `Personalization in UX...`,
  }
}

// Use the edge runtime for better speed

export default function Page() {
  const city = getCity()
  return (
    <div>
      <p>
        Personalization in UX is all about creating a tailored experience for
        your users. Learn how to use personalization to boost engagement and
        conversion rates.
      </p>

      <h2>What people in {city} are saying</h2>
      <p>
        "I love this article! It's so helpful and informative. I can't wait to
        read more from you." <br />
      </p>
    </div>
  )
}
Geo-Targeted Images with Unsplash API
Continuing with the example above, let's create a localized header image that we source from Unsplash. It's the first image in this article.
async function getPicture() {
  try {
    const city = getCity() // from the code above

    const p = new URLSearchParams()
    p.append('query', `${city} city architecture building`) // insert our city keyword here
    p.append('per_page', '1')
    p.append('content_filter', 'high')
    p.append('orientation', 'landscape')

    const headers = {
      // get the Unsplash API key first
      Authorization: `Client-ID ${keys.key}`,
    }

    const _url = 'https://api.unsplash.com/search/photos'
    const url = `${_url}?${p.toString()}`
    const res = await fetch(url, { headers })
    const results = (await res.json()).results

    for (const result of results) {
      return result.urls.regular as string
    }
  } catch (e) {
    console.error('failed to getPicture', e)
  }

  return '' // empty string on failures
}


export default function Page() {
  const img = await getPicture()
  return (
    {img && (
      <Image
        src={img}
        alt={`A picture of a ${city} building`}
        width={800}
        height={600}
      />
    )}
  )
}
Country Flag Emoji based on IP Address location
To show an emoji for the user's country, create a small Flag component. First we'll need a list of countries.
- Copy this to countries.json: https://github.com/risan/country-flag-emoji-json/blob/main/dist/by-code.json
- I removed the unicode and image fields to make it lighter
- Create the component below
import { emojis } from './by-code' // the list you copied, I changed it to typescript

const Flag = () => {
  const headersList = headers()

  const _country =
    headersList.get('cf-ipcountry') ??
    headersList.get('x-vercel-ip-country') ??
    'US'

  const country = emojis[_country] ?? {
    emoji: '🇺🇸',
    name: 'United States',
  }

  return (
    <span className="font-bold">
      <span role="img" aria-label={country.name}>
        {country.emoji}
      </span>{' '}
      {country.name}
    </span>
  )
}

export default function Page() {
  return (
    <div>
      You are from <Flag />
    </div>
  )
}
Why is Geolocation-Based Personalization Important?
Geolocation-based personalization is the process of customizing a website's content, design, and functionality based on the user's location. This strategy can greatly enhance user engagement, conversion rates, and overall user experience by focusing on individual user behavior and needs.
Benefits of Geolocation-Based Personalization
- Increased engagement: By providing relevant content based on users' locations, you can create a more engaging experience for your audience.
- Higher conversion rates: Personalized content can lead to higher conversion rates, as users are more likely to engage with content that is relevant to their needs and preferences.
- Improved customer satisfaction: Personalization can help you stand out from the competition and increase customer satisfaction by meeting their expectations for tailored experiences.
- Better targeting: Geolocation-based personalization allows you to target specific audiences based on their location, which can lead to more effective marketing campaigns and better return on investment.
UX Personalization Examples That Work in 2023
- Changing headlines: Personalize headlines based on the user's location to make the content more relevant and engaging.
- Adjusting hero images: Tailor hero images on the homepage to reflect the user's location, making the website more visually appealing and relevant.
- Promoting local events: Showcase events happening in the user's area, increasing the likelihood of their participation.
- Offering location-specific products or services: Display products or services that are relevant to the user's location, such as winter products for cold regions or summer products for hot areas.
- Onboarding: Personalize the onboarding experience based on the user's location to make it more relevant and engaging. Prefill data.
- Using AI: Write different copy for different locations. For example how we did it for magicbuddy.ai. Note the different examples.
More reading
- Vercel: Headers included with deployment
- Vercel: Geolocation in Edge Middleware, Learn how to use visitor's location at the edge.

